

How to Use Pixel Art Assets in Your Game (RPG Maker MZ, Unity & Godot)
Otomusu offers free, game-ready pixel art images (PNGs with transparent backgrounds). This article walks through how to import them into a game engine and, most importantly, the settings that keep your pixel art sharp instead of blurry.
Features of Otomusu’s Pixel Art Assets
- Format: PNG with a transparent background (transparent PNG)
- Size: Square images roughly 700–1200 pixels per side (you can check the exact size on each image’s page)
- Categories: Monsters, Characters, Items, Animals, Food, Buildings & Objects, Vehicles, Sports, Stationery, Tourist Attractions, Tilemaps
Click “Free Download” on an asset’s page to save the PNG file.
The Most Important Setting: Display Without Blurring
When you bring pixel art into a game, the outlines often turn blurry because of the engine’s default settings. This happens because, when an image is scaled up or down, the engine applies interpolation, which smoothly blends the space between pixels. For pixel art, the golden rule is to set this to “Nearest Neighbor” (also called point filtering), which means no blurring.
Using Them in RPG Maker MZ
Put each image into the folder that matches how you plan to use it.
| Use | Folder |
|---|---|
| Enemy in the battle screen (front view) | img/enemies |
| Images shown during events (pictures) | img/pictures |
| Battle backgrounds and parallax backgrounds | img/battlebacks1, img/parallaxes, etc. |
A great thing about the Monsters assets is that they work as enemy images right out of the box. However, because the images are large, it’s easier to work with them if you first shrink them to fit your game’s screen size in an image editor (when shrinking, choose “Nearest Neighbor” if possible).
Walking sprites (the animation of a character walking) require RPG Maker’s own fixed format, an image with the frames laid out in a set grid. We recommend using Otomusu’s single-image Characters assets as the basis for character portraits, pictures, and face graphics.
Using Them in Unity
- Drag the PNG file into your “Assets” folder to import it
- Select the image and configure the Inspector as follows
- Texture Type: Sprite (2D and UI)
- Filter Mode: Point (no filter) ← this is the “no blurring” setting
- Compression: None (prevents color degradation)
- Adjust the in-game size with “Pixels Per Unit”
Using Them in Godot
- Place the PNG file in your project folder
- In Project Settings, set “Rendering → Textures → Default Texture Filter” to Nearest, and pixel art will display crisply across the entire project
- Assign the image to the “Texture” property of a Sprite2D node
Note: Setting names and locations may differ depending on your engine version.
Ideas for Using Each Asset Type
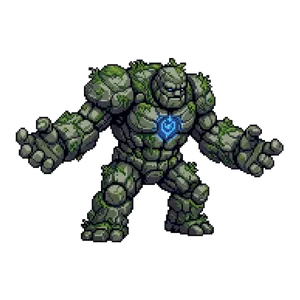
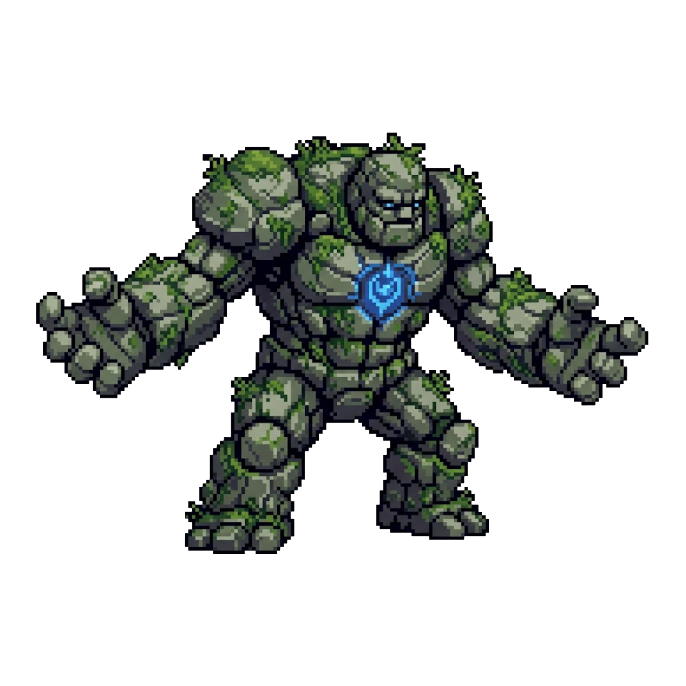
- Monsters: Enemies, bestiaries, boss battle presentation (e.g., Slime, Golem)
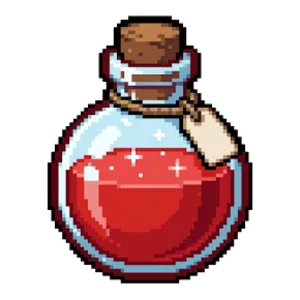
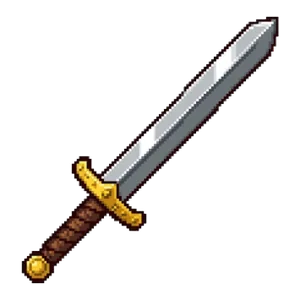
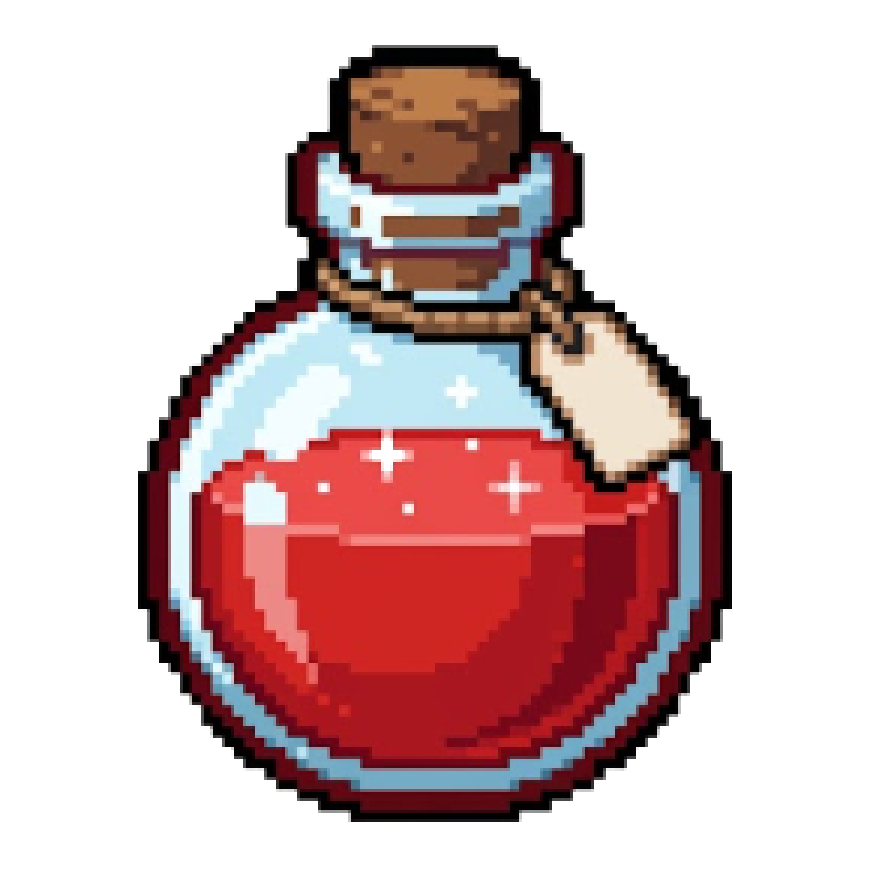
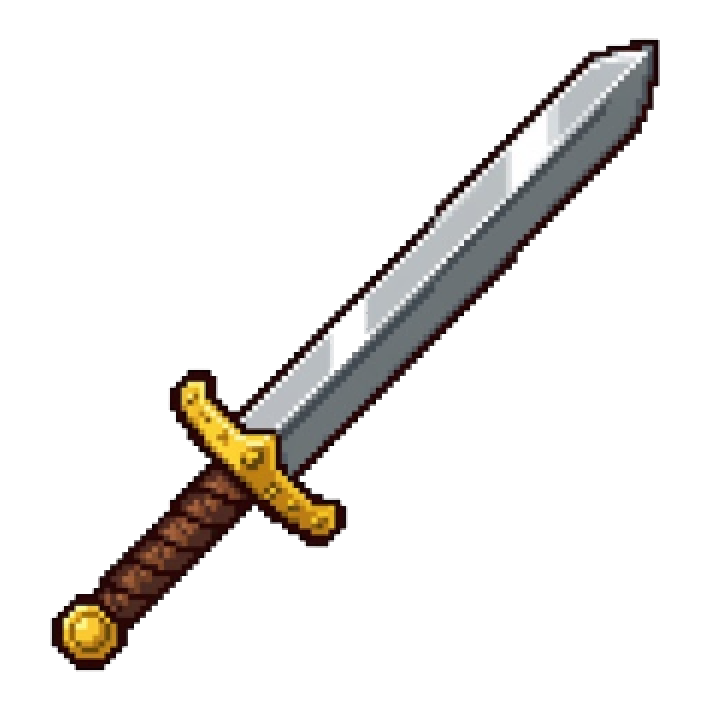
- Items: Icons for the inventory screen, shop goods (e.g., Healing Potion, Iron Sword)
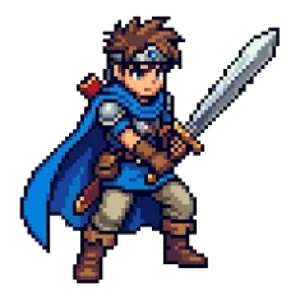
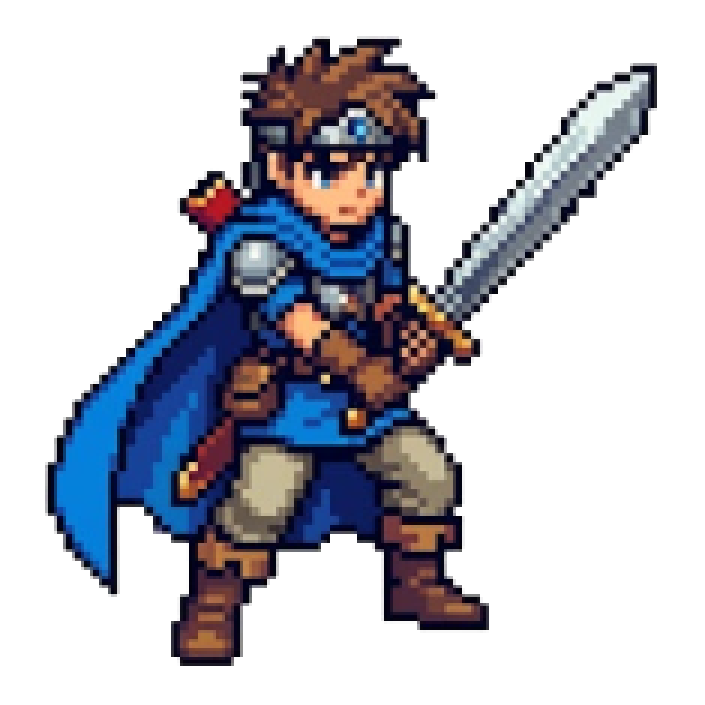
- Characters: Character portraits for dialogue scenes, party introductions (e.g., Hero)
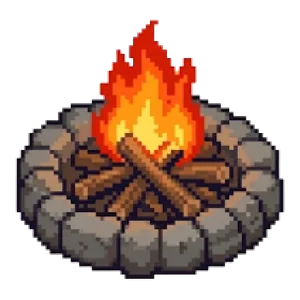
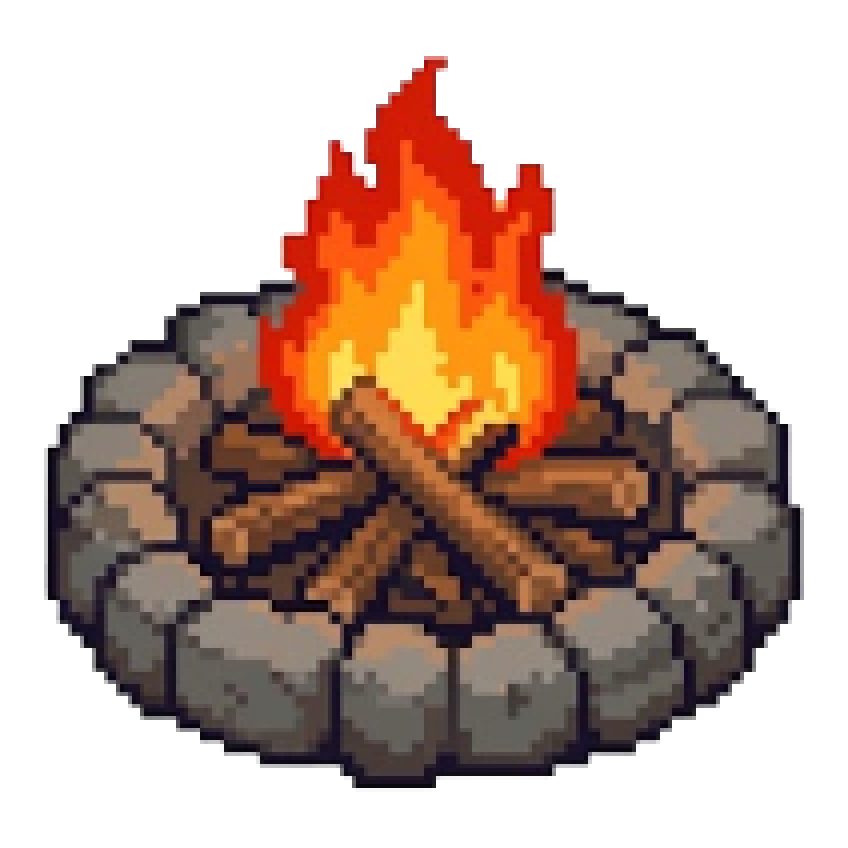
- Buildings & Objects: Map decorations, event markers (e.g., Campfire)
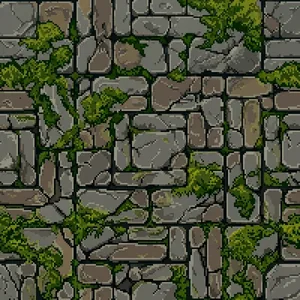
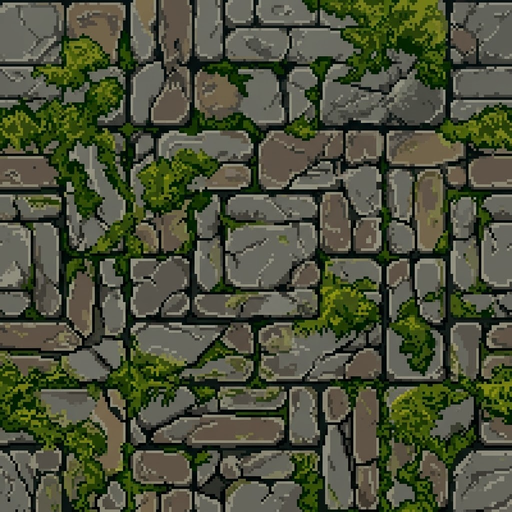
- Tilemaps: Source material for map chips such as floors and walls
When you use an image small, as an icon, it still looks clean even after shrinking the original.
Things to Keep in Mind
- You can use the assets for free even in games you sell, but you may not redistribute the image files themselves or distribute them as an asset pack (bundling them as part of your game’s data is fine)
- You are free to modify the assets (changing colors, cropping, compositing, and so on)
- Credit is optional. If you write “Pixel art: Otomusu” in your end credits, it would be a great encouragement
For tips on enlarging and editing pixel art, see Tips for Enlarging and Editing Pixel Art Assets Cleanly.
Pixel art mentioned in this article

Terms of use for the assets
- Free
- No registration
- Commercial use OK
- Edits OK
- Credit optional
- No usage report needed
See the terms of use for details.
Related articles
- How to Make a Mini Game: A 7-Step Solo Dev Guide from Idea to Release
- Sound Effect Types and How to Choose: Confirm, Attack, Heal and Fail Sounds for Games and Videos
- Game Title Screen, Ending & Game Over Music: Roles and How to Choose
- Indie Game Asset Checklist: How to Collect and Manage BGM, Images and Sound Effects