
How to Scale and Edit Pixel Art Without Blur: Nearest Neighbor, Recoloring and Thumbnails
Pixel art is made by expressing shapes with a small number of dots (pixels). That’s why if you enlarge it the same way you would a normal photo or illustration, the outlines blur and the “pixel art look” is lost. In this article, we’ll share tips for enlarging and editing Otomusu’s pixel art assets while keeping them crisp.
1. To Enlarge Without Blur, Use “Nearest Neighbor”
When you enlarge an image, most software uses methods such as “bilinear” or “bicubic” by default, which smoothly blend the space between dots. This looks great for photos, but it makes pixel art look smudged.
When enlarging pixel art, switch the scaling method to “Nearest Neighbor”.
| Software | Where to set it |
|---|---|
| GIMP (free) | “Image” → “Scale Image” → set “Interpolation” to “None” |
| Photoshop | “Image Size” → set “Resample” to “Nearest Neighbor” |
| Krita (free) | “Resize Image to New Size” → set “Filter” to “Nearest Neighbour” |
| Web pages (CSS) | Specify image-rendering: pixelated; |
2. Enlarge by Whole-Number Multiples
When enlarging with Nearest Neighbor, the key is to use whole-number multiples such as 2x, 3x or 4x. With an uneven scale like 1.5x, the dots end up in inconsistent sizes and the image looks jagged.
Example: If you want to use a 500-pixel image in a space that is 1200 pixels wide, enlarge it 2x to 1000 pixels and then fill the remaining space with margins for a clean result.
3. Change the Colors to Create Variations
Even with the same monster, just changing its colors lets you create a “stronger recolored boss” or an “enemy of a different element.”
- GIMP: Go to “Colors” → “Hue-Saturation” and simply rotate the hue to change the overall color
- To change only part of the image: Use “Fuzzy Select” or “Select by Color” to pick just the colors you want to change, then shift the hue
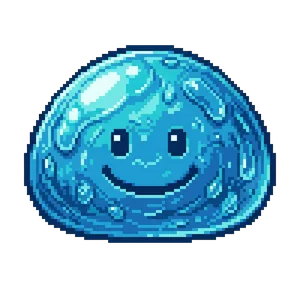
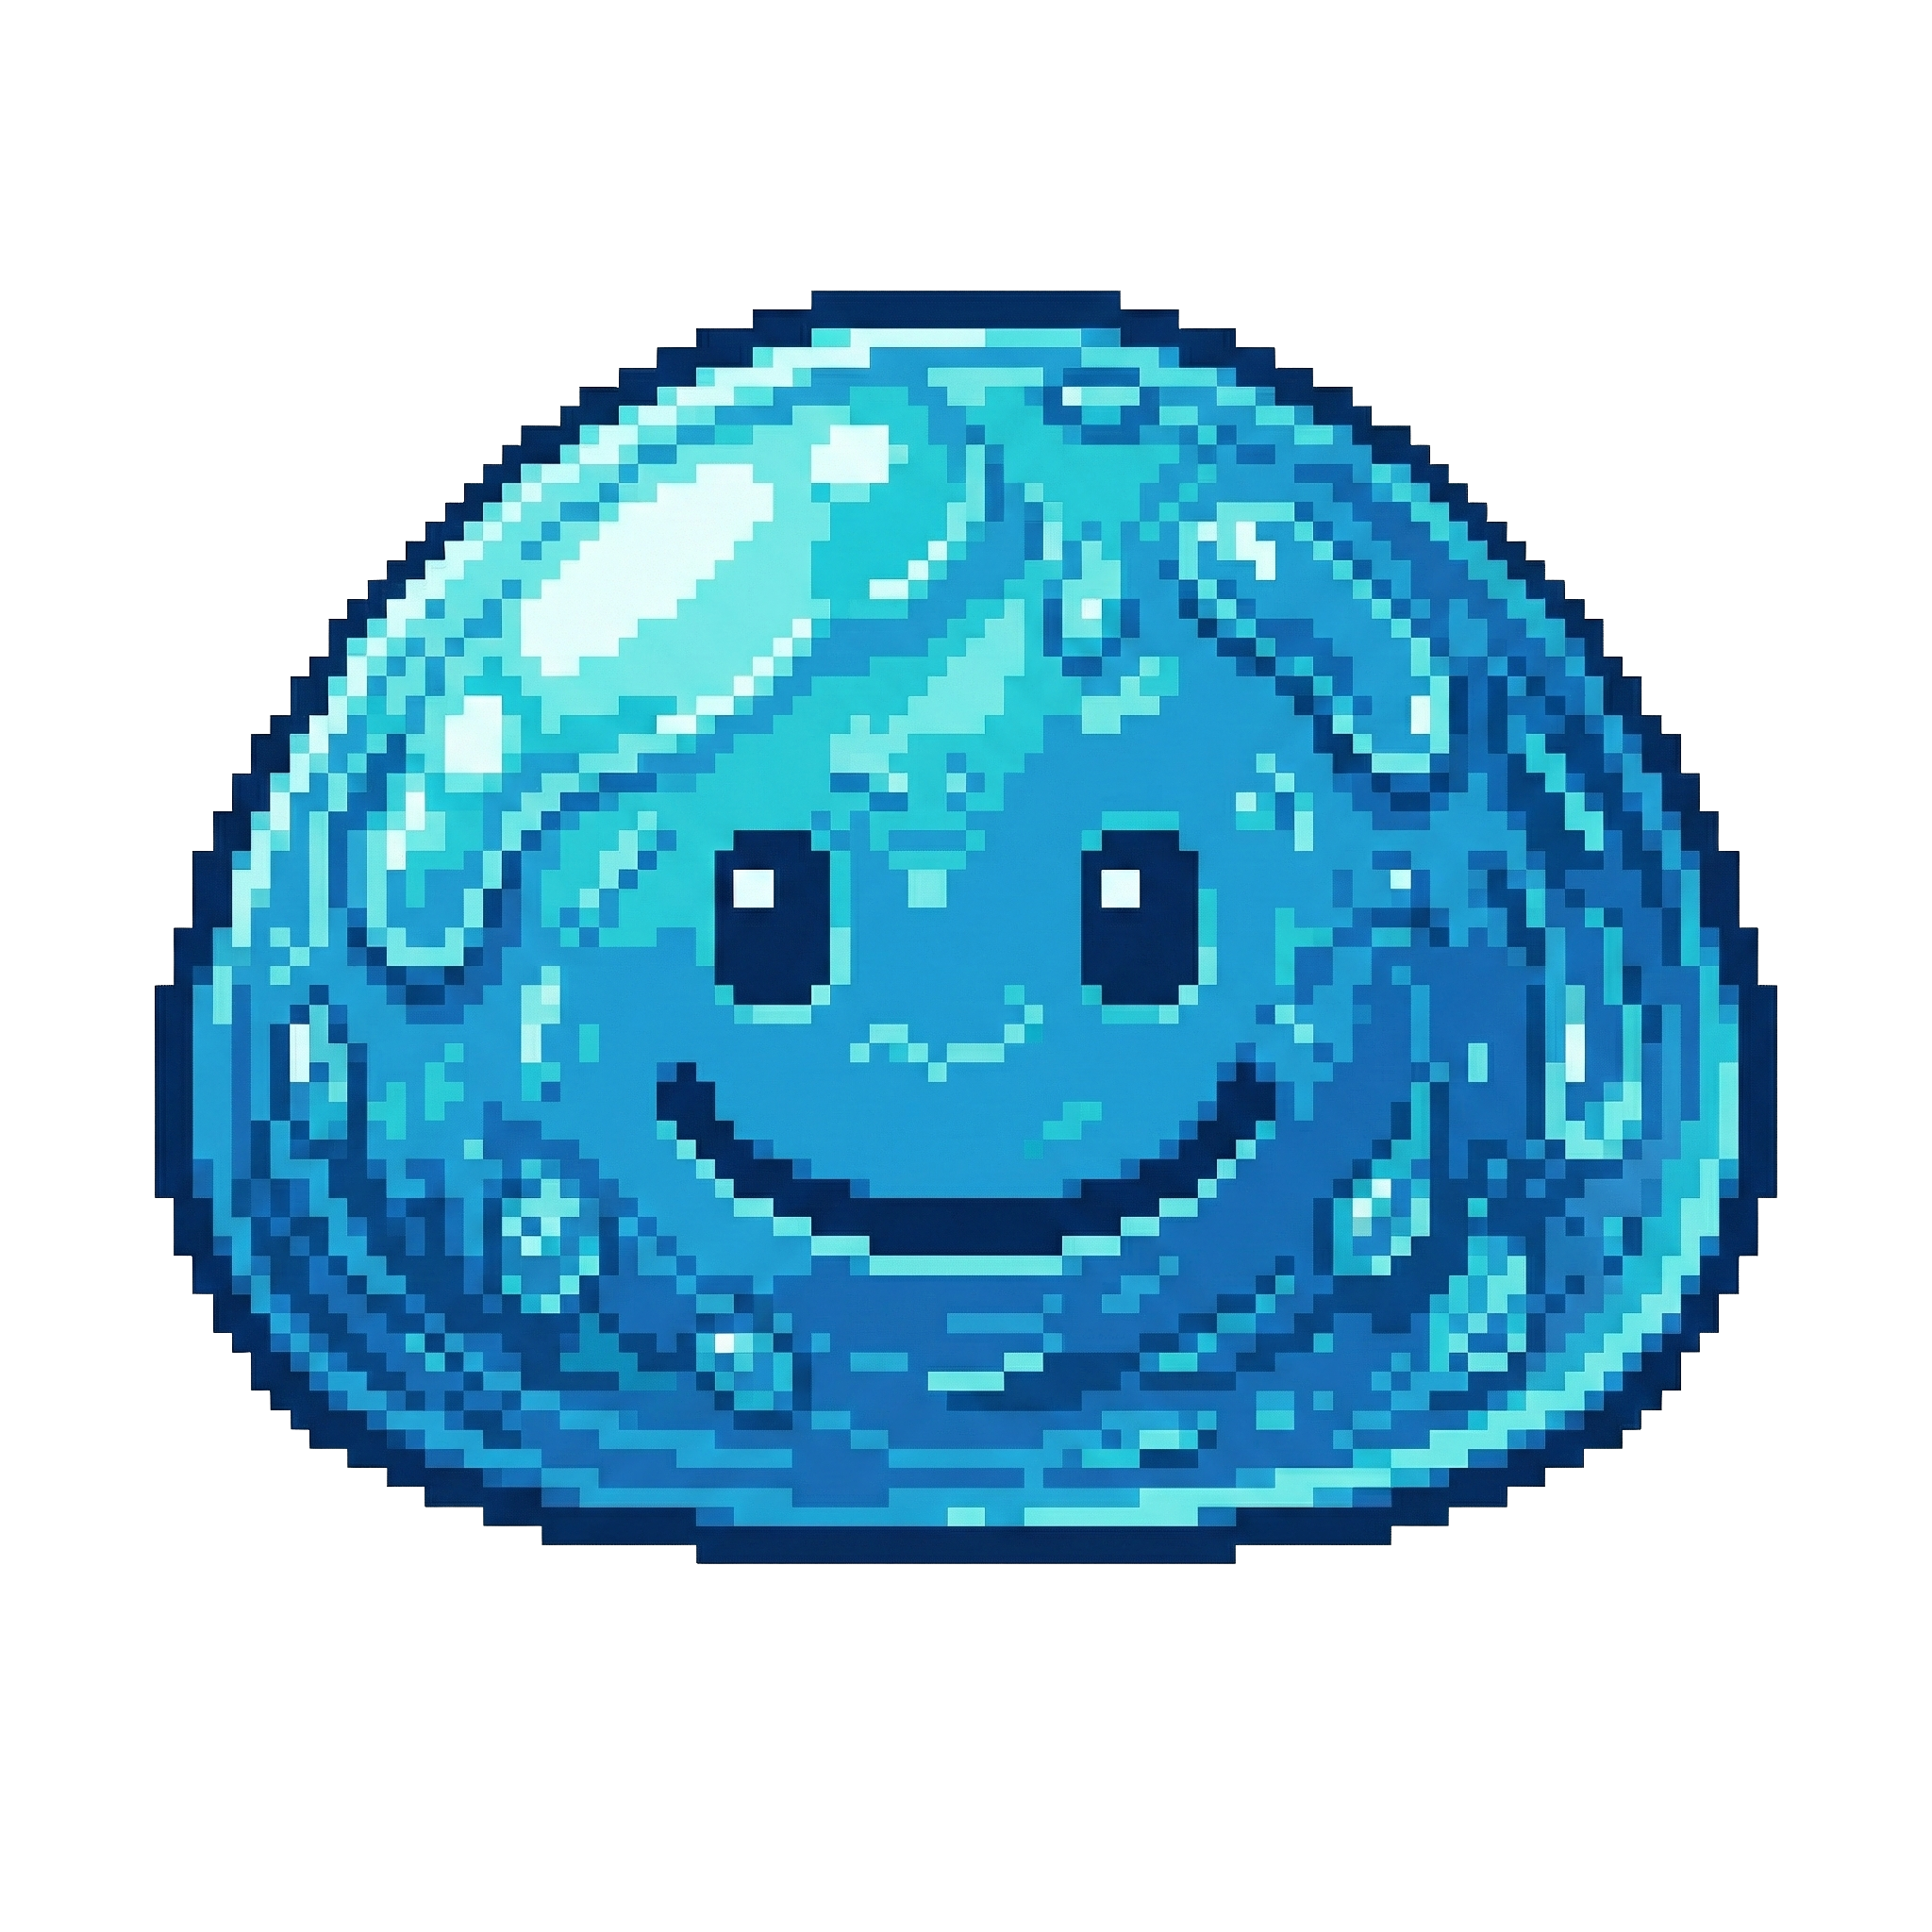
For example, if you rotate the hue of the blue Slime, you can easily make red or green slimes. You’re free to edit the assets, so feel free to adjust them to match your game’s world.
4. Add Shadows and Outlines to Make Them Stand Out
The PNGs have transparent backgrounds, so you can layer them over any background.
- Outlines: Adding a white or black outline 1–2 dots wide makes the sprite easy to see even on a busy background
- Shadows: Just place a semi-transparent black ellipse beneath the asset to give the feeling that it is “standing on the ground”
5. Use Them in YouTube Thumbnails and Blogs
Pixel art is also an easy material to use for YouTube thumbnails and article header images.
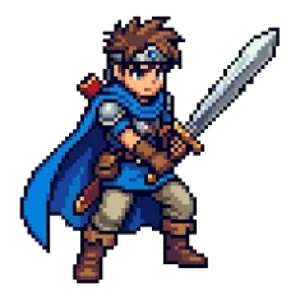
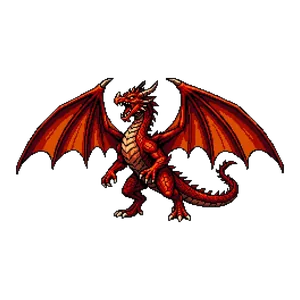
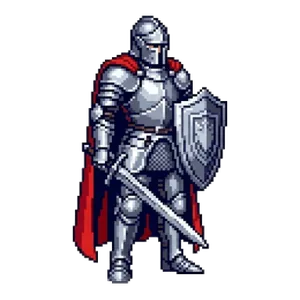
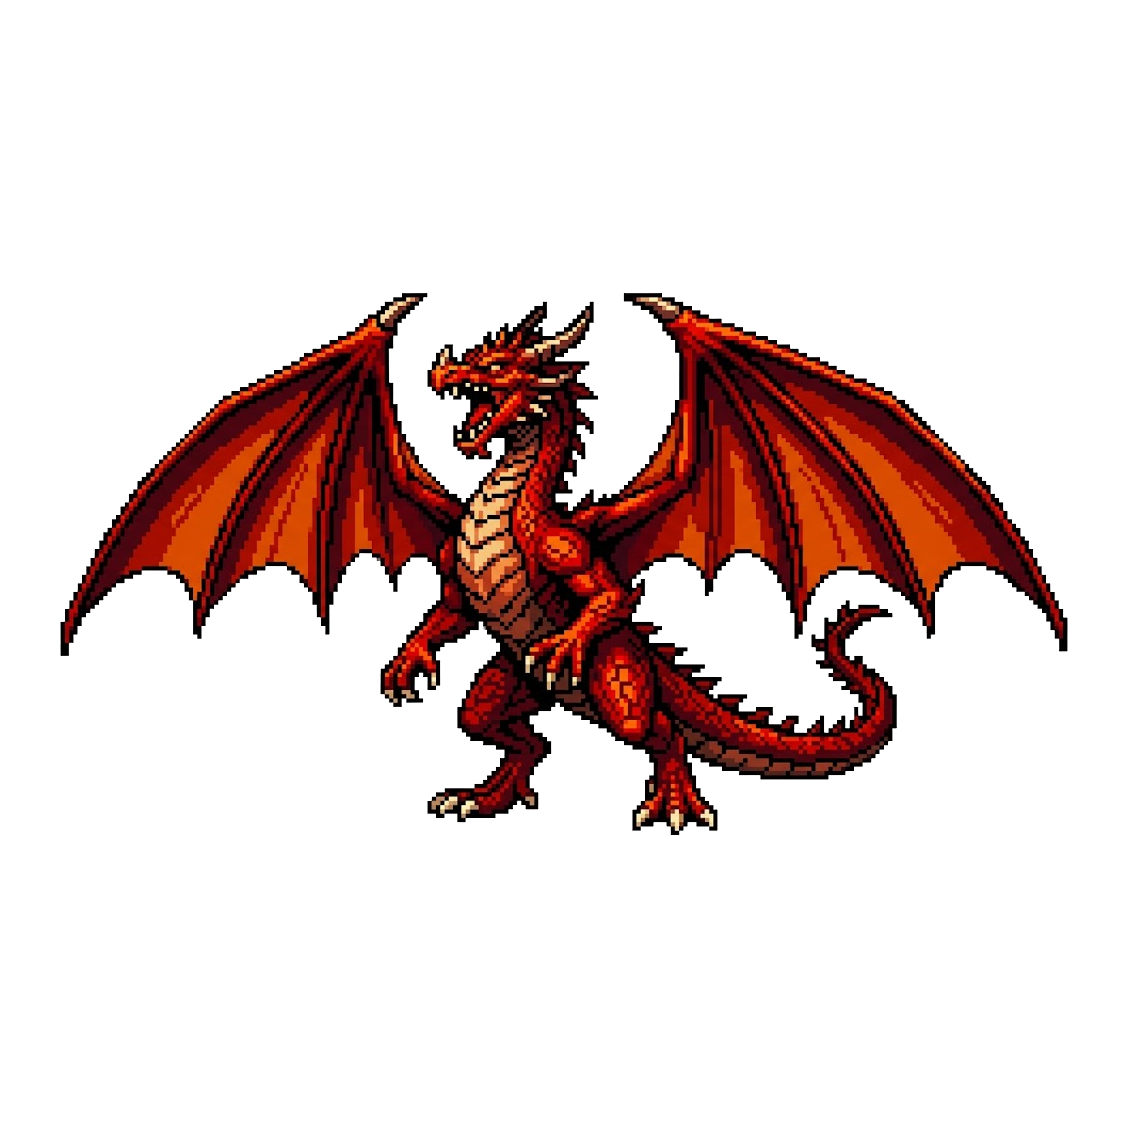
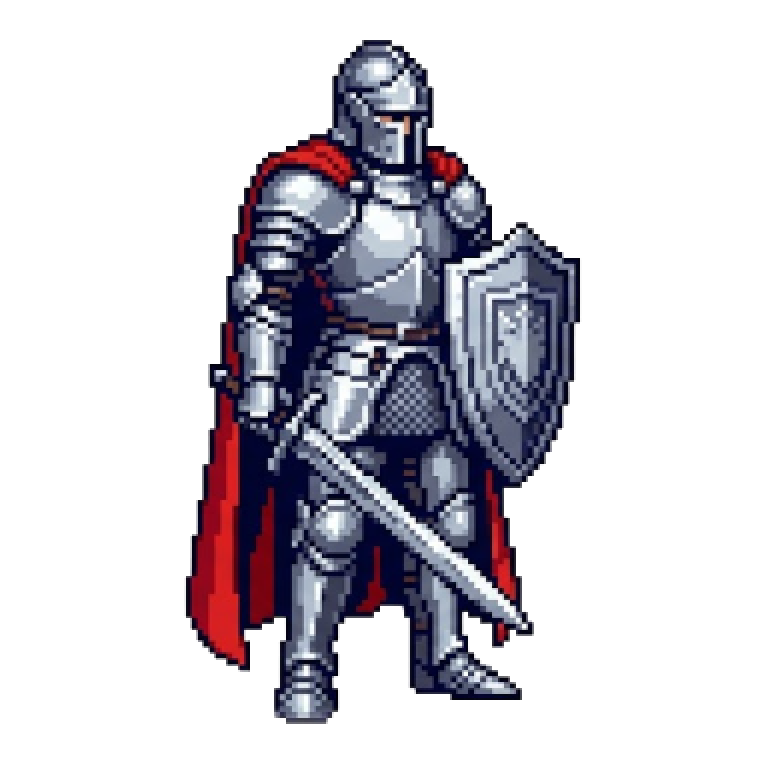
- Thumbnails: When combining pixel art with text, place the pixel art large (at a whole-number multiple) and add an outline to the text to make it easier to read. For gameplay videos, the Hero, the Knight and the Red Dragon stand out well
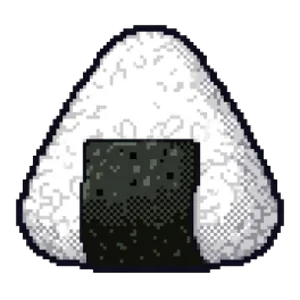
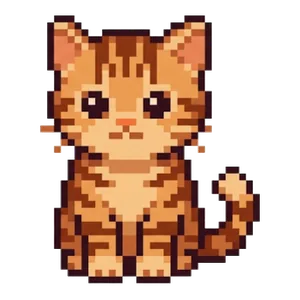
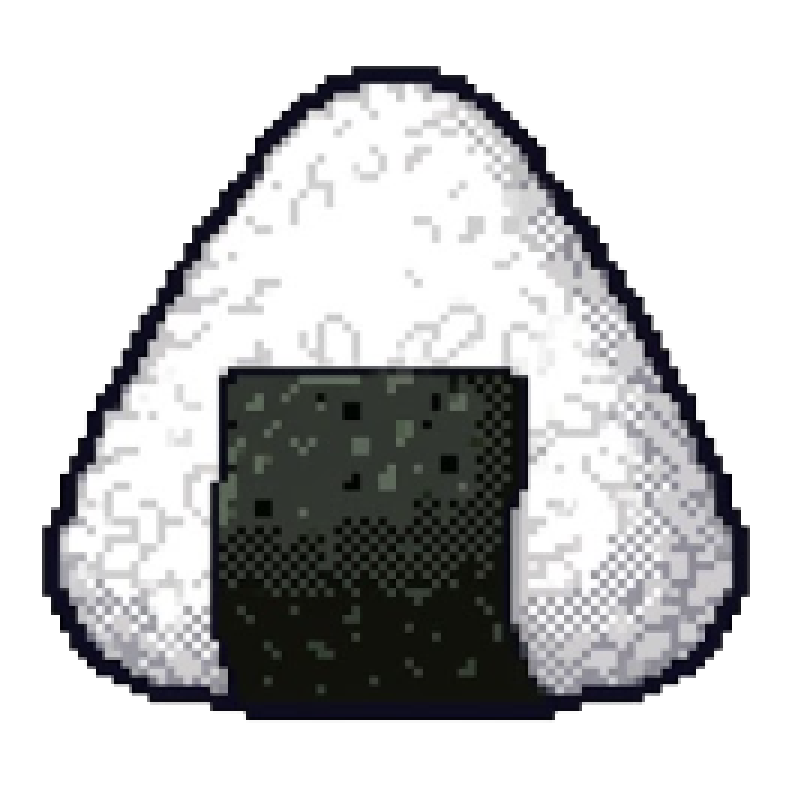
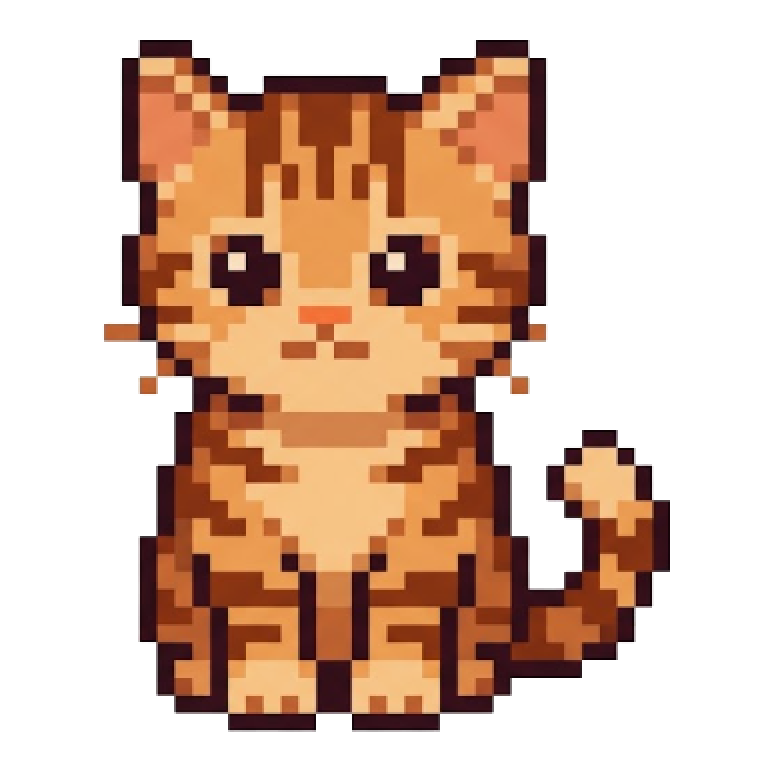
- Blogs and documents: Food and animal assets (such as the Rice Ball (Onigiri) and the Cat) make perfect small illustrations for an article
6. Using Edited Assets
Even when you edit them, Otomusu’s assets can be used within the scope of the Terms of Use.
- ✅ Using recolored assets in games and videos
- ✅ Combining multiple assets to create an original image
- ❌ Distributing or selling edited assets as “assets”
- ❌ Selling merchandise printed with the assets almost as-is
Summary
The key to using pixel art cleanly comes down to just two things: enlarge with “Nearest Neighbor” and use “whole-number multiples.” After that, feel free to change the colors, add outlines and shadows, and arrange the art however suits your project.
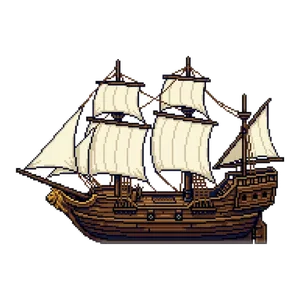
Pixel art mentioned in this article
Terms of use for the assets
- Free
- No registration
- Commercial use OK
- Edits OK
- Credit optional
- No usage report needed
See the terms of use for details.
Related articles
- How to Use Pixel Art on Flyers, Posters and Business Cards: A Resolution Guide
- How to Fix White Edges on Transparent PNGs: Background Matching and a Pre-Placement Checklist
- How to Make Pixel Art Icons and Logos That Stand Out on Social Media, Streams and Channels
- Pixel Art Character Design for Beginners: Proportions, Color Count and Silhouette