


How to Make a Mini Game: A 7-Step Solo Dev Guide from Idea to Release
You may want to make a game, but not know where to start. Many people feel that way. If you aim for something big, you’ll likely never finish it. Instead, set yourself a goal: finish a mini game that can be played in 5 minutes.
This article walks through the process of making a mini game on your own in 7 steps. It doesn’t matter which software or programming language you use. The way of thinking is the same whatever method you choose.
Step 1: Narrow your game down to “one thing”
A mini game is the right size when it works with just one action.
- Dodge things flying at you
- Catch things falling from above
- Press a button with good timing
- Find matching pictures
- Escape a maze
If you add a story, leveling up and so on from the start, the amount of work you need to do grows all at once. Decide on just one action to be the core of your game.
Step 2: Write out the rules for winning and losing
Next, write the rules in short sentences on paper or in a note.
- What do you control? (keys, mouse, taps)
- What counts as a win? (score, time, reaching a goal)
- What counts as a loss? (running out of lives, time running out)
- How does it get harder? (things get faster, the number of objects increases)
If your rules fit within 10 lines, the game is a good size for a mini game. If they run longer, cut some elements.
Step 3: Sketch the screen layout on paper
Draw a quick, hand-drawn sketch of what will be on the screen.
- The position of the character you control
- Where enemies and items appear
- Where the score and remaining time are displayed
You don’t need a pretty drawing. Boxes and arrows are enough. If you decide the layout here, you won’t get stuck when you actually build it.
Step 4: Gather your assets
You can make the art and sound yourself, or you can use free assets.
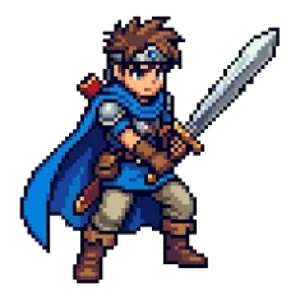
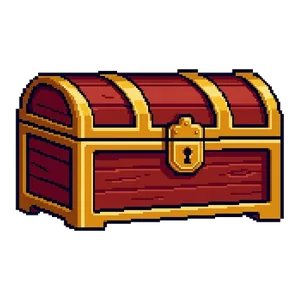
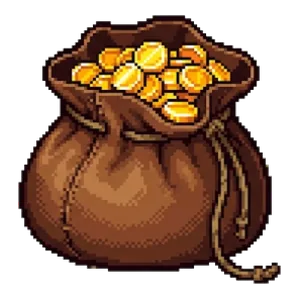
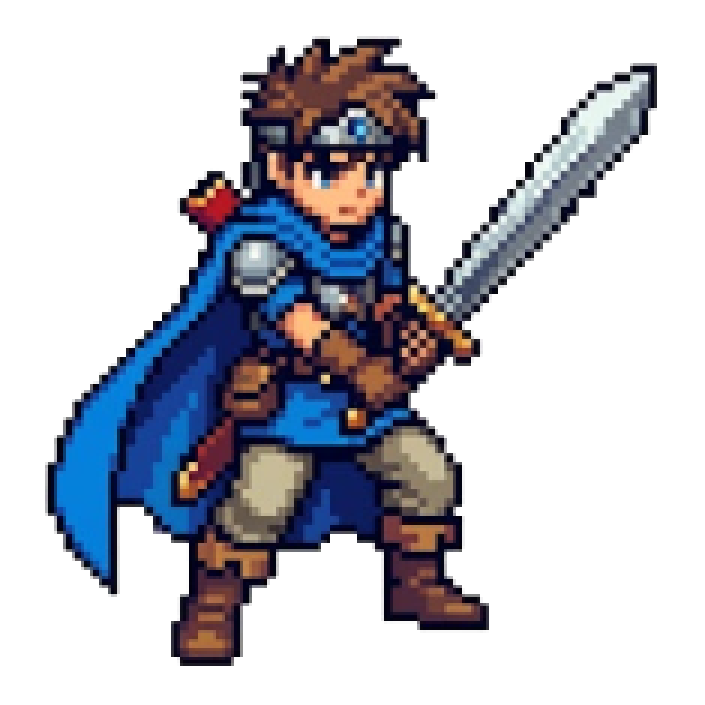
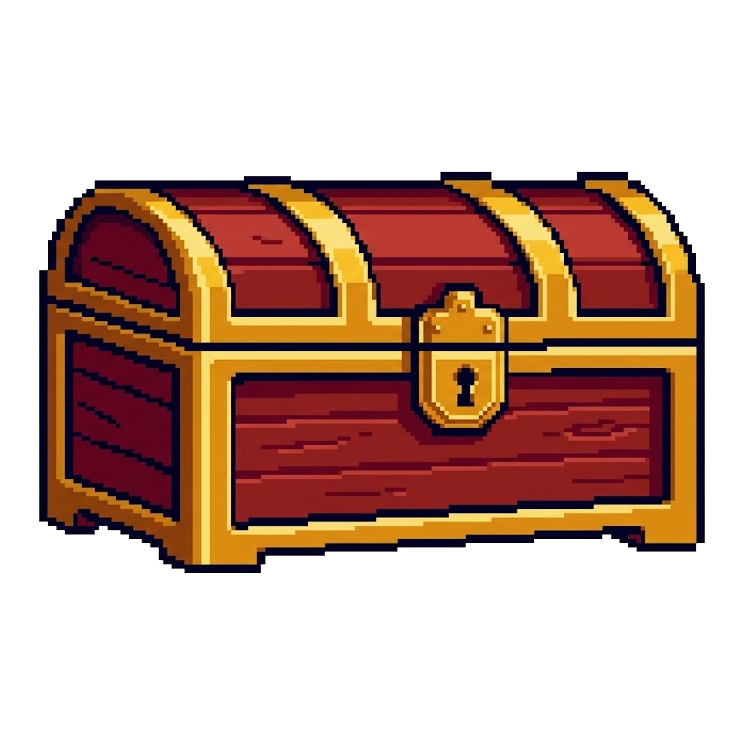
- Characters and items: The Pixel Art section has pixel-art characters, treasure chests, coins and more. Using them at a consistent size makes everything look cohesive (for how to use them, see How to Use Pixel Art Assets in Your Game).
- BGM: Two tracks are enough: one for the title screen and one for gameplay. A lively track like “Slapstick Operation” suits action games, while a calmer track suits puzzle games (see also How to Choose BGM for Each Game Scene).
- Sound effects: From the Sound Effects section, prepare three kinds: confirm, score and fail.
A tip for saving time on gathering assets: build the game with placeholder assets first, and swap them out once it’s finished. Even with plain square boxes, you can check whether the game is fun to play.
Step 5: First, build it until it “works”
Before worrying about fine visual details, check whether the minimum game actually works.
- The character moves with your controls
- Enemies and items appear, and collision detection works
- Win and lose conditions are triggered
- You can play again
Once you’ve got this far, the game has taken shape. From here, you add sound and visual effects.
Step 6: Play it and fix it
Don’t only play it yourself. Have other people play it too, and you’ll find problems you hadn’t noticed.
- Are the controls confusing? (Can people play without an explanation?)
- Is it too hard or too easy?
- Can players retry right away after losing?
- If it’s played on a phone, are the buttons large enough to tap with a finger?
When you let someone play, don’t say anything — just watch. The places where they get stuck are the places you need to fix.
Step 7: Run through the pre-release checks and publish
Before you publish, check the following items.
- It can be played all the way through from start to finish
- Instructions on how to play are shown somewhere on the screen
- The volume isn’t too loud (no sudden loud sounds)
- You’ve checked the terms of use for every asset you used (art, sound and text fonts)
- For assets that require credit, you’ve included the required credit (see the Terms of Use and How to Write Credits)
- It isn’t too similar to other works
If you don’t check the terms for your assets, problems can come up after you publish. Keep a note of the name and source of every asset you used (how to keep those records will be covered in a separate article later).
Tips for actually finishing
- Have the courage to cut things: You’ll be tempted to keep adding more and more, but finishing the game is the top priority.
- Set a deadline: Setting limits like “build it over the weekend” or “release it in two weeks” makes it easier to see it through to the end.
- Make many small games: Your first one may be imperfect, but from the second one on, you’ll get used to the process and work faster.
Play games for inspiration
The site’s Game Corner has a variety of mini games. As you play, pay attention to “what single action is at the core of this game?” It can give you hints for your own ideas.
Summary
- Narrow your game down to one action
- Write the rules in 10 lines or fewer
- Sketch the screen layout by hand
- Gather assets (placeholders are fine at first)
- Build it until it works
- Have other people play it and fix it
- Run the pre-release checks and publish
To start, try writing on a piece of paper, in just three lines, “what you do and what counts as a win.”
Tracks mentioned in this article
Press ▶ to listen, or open a track to download it for free.
Pixel art mentioned in this article
Terms of use for the assets
- Free
- No registration
- Commercial use OK
- Edits OK
- Credit optional
- No usage report needed
See the terms of use for details.
Related articles
- Sound Effect Types and How to Choose: Confirm, Attack, Heal and Fail Sounds for Games and Videos
- Game Title Screen, Ending & Game Over Music: Roles and How to Choose
- Indie Game Asset Checklist: How to Collect and Manage BGM, Images and Sound Effects
- How to Choose and Make Game Sound Effects: Keep Them Short, Don't Stack Too Many, and Match the BGM